Introduction to Drywall Painting
Drywall painting is an essential aspect of home improvement that can significantly enhance the aesthetics and ambiance of both residential and commercial spaces. In the world of interior design, the way walls are painted can greatly affect the overall impression and characterization of a room. Whether you are planning to redo the walls in your living room, kitchen, or office, understanding the best practices for drywall painting is crucial for achieving a professional finish. This comprehensive guide will explore everything you need to know—from surface preparation to selecting the perfect paint—ensuring that your project is a complete success.
Understanding Drywall and Its Preparation
Before we delve into the painting process, it’s important to understand what drywall is and why proper preparation is necessary. Drywall, also known as gypsum board or plasterboard, is a construction material made from gypsum, which is a soft sulfate mineral. It has a paper liner on either side, which helps in maintaining structural integrity.
Proper preparation of drywall is essential because it affects the paint’s adherence and overall appearance. Factors such as dust, uneven surfaces, and moisture can lead to poor finishes, so it’s critical to take the time to prepare your drywall before painting.
Importance of Proper Painting Techniques
Utilizing proper painting techniques can mean the difference between a mediocre job and a flawless finish. Techniques involve not only the right brush or roller application but also understanding the importance of priming and applying multiple coats. Correctly using tools and methods can enhance the durability of the paintwork, ensuring it lasts longer and looks better.
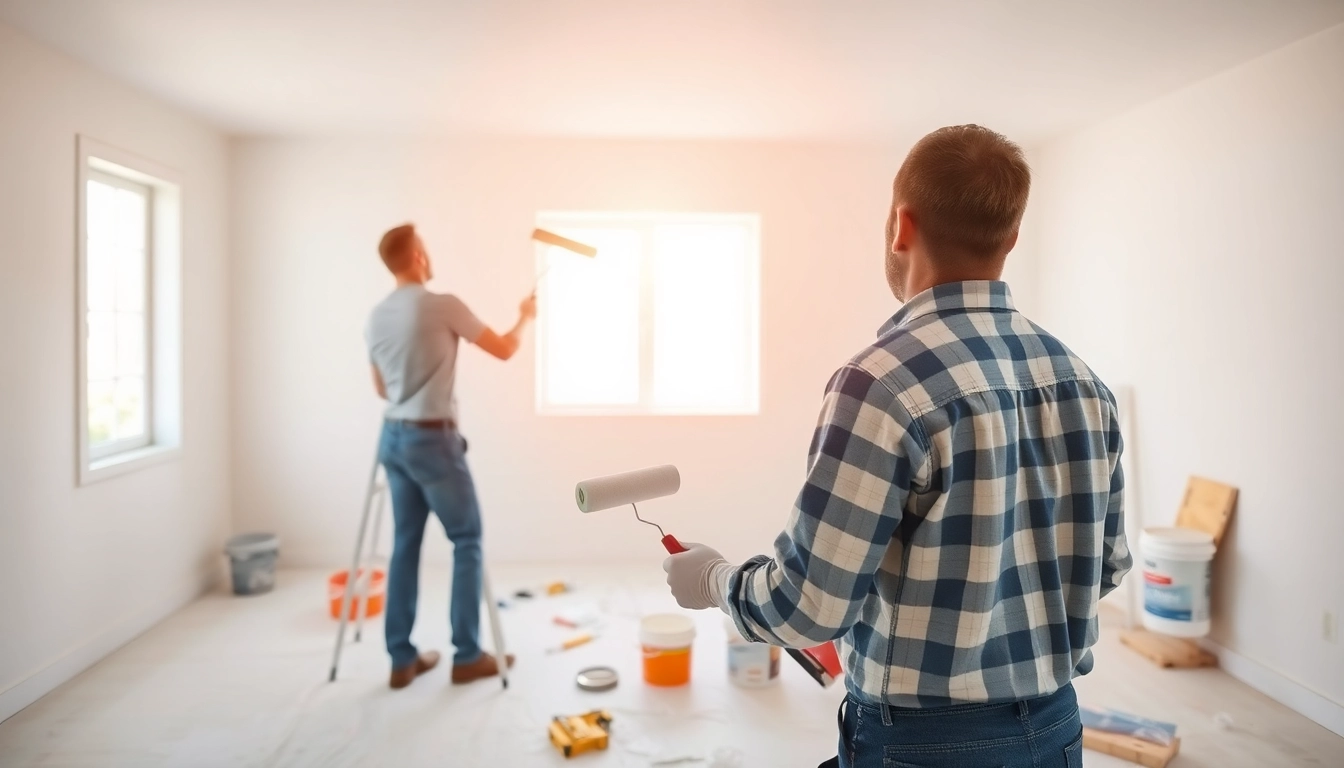
Tools Needed for Effective Drywall Painting
To achieve the best results when painting drywall, you will need a variety of tools. Here’s a checklist of essentials:
- Paint rollers and brushes
- Paint tray
- Sandpaper or sanding block
- Drywall primer
- PVA primer (for new drywall)
- Drop cloths to protect flooring
- Painter’s tape
- Paint scraper for any imperfections
- Vacuum or a damp cloth for dusting
Preparing Your Drywall for Painting
Cleaning the Surface Before Painting
Cleaning the drywall surface is a meticulous yet vital step in ensuring that you achieve a smooth and durable finish. Start by removing dust, dirt, and grease with a damp cloth or a vacuum. This is particularly important if your drywall has been exposed to kitchen or bathroom environments where oil and moisture may have accumulated.
The Essential Step of Priming Your Drywall
Priming your drywall creates a barrier between the raw wall and the paint. Primers have properties that allow them to abide by the drywall material better, ensuring that the paint adheres properly. For new drywall, using a PVA primer is recommended as it minimizes absorption and creates a smooth base for painting. Allow the primer to dry thoroughly before proceeding.
Sand and Smooth: Achieving the Perfect Finish
Once the primer has dried, sanding is necessary to achieve an ultra-smooth finish. Use fine-grit sandpaper to sand the entire surface gently. Focus on seams, edges, and any visible imperfections. Wipe the surface clean with a damp cloth after sanding to remove all dust, providing an ideal painting surface.
Choosing the Right Paint for Drywall
Acrylic vs. Latex: What’s Best for Your Project?
Choosing the right type of paint is critical for the longevity and appearance of your finish. Acrylic and latex paints are two of the most popular choices for drywall. Acrylic paint is known for its vibrant colors and ability to withstand high humidity, making it a great choice for kitchens and bathrooms. Conversely, latex paint is easier to apply, has a quicker drying time, and is generally less expensive—making it suitable for larger areas.
Understanding Paint Finishes: Matte, Eggshell, and Gloss
The finish you choose can drastically alter the look of your walls. Matte finishes hide imperfections and are great for low-traffic areas. Eggshell finishes have a slight sheen, offering extra durability, making them ideal for living rooms or bedrooms. Gloss finishes, while reflective, are best for accents and moldings, and they’re also the most durable, making them perfect for high-traffic areas.
Mixing Colors and Accents in Your Drywall Painting
Don’t be afraid to play with color! Using color accents can add depth and character to your space. Consider painting one wall in a bold color while keeping others in a neutral tone to create focal points. Remember to test a sample on the wall first; colors can appear different once applied, depending on the lighting.
The Process of Painting Drywall
Step-by-Step Guide to Painting Your Walls
Now that your drywall is prepared and you’ve selected your paint, follow these steps to ensure a flawless painting process:
- Use painter’s tape to tape off edges around windows, doors, and baseboards.
- Start with the ceiling if you’re painting an entire room.
- Use a brush for edges and a roller for larger areas for an even coat.
- Apply one coat and allow it to dry fully before applying more if necessary.
- Inspect your work for any missed spots or dark patches and apply additional coats where needed.
Common Mistakes to Avoid During the Process
Common errors include painting without priming, rushing the drying process, and not applying enough coats. Skipping the primer can lead to uneven colors and poor adherence. Patience is key—allow each coat to dry thoroughly, as this is vital for a professional finish.
Tips for Achieving a Flawless Finish on Your Drywall
For a professional outcome, consider these tips:
- Mix paint well before using to achieve a uniform color.
- Utilize a roller designed for smooth surfaces for even distribution.
- Feather the edges of your paint strokes to avoid visible lines.
- Keep a wet edge while rolling to prevent lap marks.
Final Touches and Maintenance
Inspecting Your Work: What to Look For
After the final coat has dried, inspect your work. Look for uneven patches, drips, or areas where color might not be consistent. Touch up these areas as necessary, using a small brush for precision.
Best Practices for Long-Term Maintenance of Painted Drywall
Maintaining your painted drywall involves regular cleaning. For most finishes, a microfiber cloth or a damp sponge is sufficient for cleaning dust without damaging the paint. Avoid using harsh chemicals which may strip the paint. For kitchens and bathrooms, consider repainting every few years, as these areas endure more wear and tear.
Repairing Common Issues Post-Painting
Over time, your painted drywall may develop issues such as scuffs or peeling. If you notice peeling paint, inspect the area for moisture. For minor scuffs, a magic eraser can work wonders. More significant damages call for touch-up painting. Simply sand the area, apply primer, and repaint to blend with the surroundings.